Making It Grand (Again)

Categories
Piano TechnologyEvery year, Advanced Piano Technology students, working in teams of two or three, completely dismantle, rebuild and restore grand pianos. The pianos are either donated to the school or done on commission for individuals who pay the school for the work. This is the story of one of the pianos that is currently being rebuilt (beginning in September 2011).
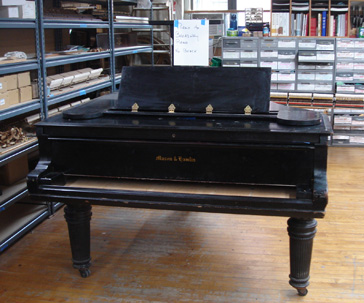
The piano is a Mason & Hamlin model BB grand piano made in 1905. The seven-foot instrument is owned by Old South Church. Located in Copley Square in Boston’s Back Bay, Old South Church is an architectural and cultural gem built in 1875. The piano is one of four grand pianos used by the church’s broad and varied music program. Placed for decades in Mary Norton Hall, the instrument has supported sing-alongs at church meetings and shared meals, accompanied Christmas pageants and cabarets, and been part of musical theater and operas. It regularly supports the rehearsal needs of Old South’s mixed professional and volunteer choir, Chorus Pro Musica, and the Boston Choral Ensemble. Work on the instrument is made possible by a bequest from the estate of Waldo “Mac” McClure Libbey, an emeritus professor of electrical engineering from the University of Maine who sang for two years with the Old South Choir while doing graduate study at Harvard and MIT in the late ’30s or early ’40s.
The Music Committee’s decision to rebuild a century-old piano over purchasing a new or used replacement was based on several considerations including its anticipated higher value and tonal quality, the architectural character of the old instrument’s legs and their relation to the Mary Norton Hall interior, a sense that the instrument is a part of the musical heritage of the church and the Committee’s abiding satisfaction with a 1910 Mason & Hamlin model BB located in the church’s Gordon Chapel that was rebuilt three years ago.
“North Bennet Street School was selected for this project based on the knowledge and breadth of perspective that faculty members would bring to the process, for the dedication and ability the program’s advanced students would bring to the hands-on work, and to contribute to the profession’s emerging next generation by supporting NBSS’s outstanding training with a high-quality instrument that will showcase the results of the thought, skill and care it is receiving.”
Michael Hand, Old South Music Committee
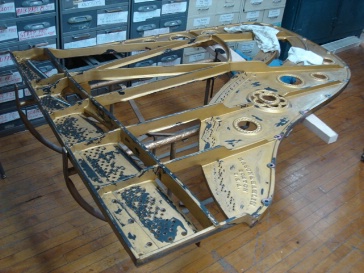
The piano case is taken apart, the action (keys, hammers, etc.) is removed, the strings and tuning pins are discarded and the cast-iron plate is removed.
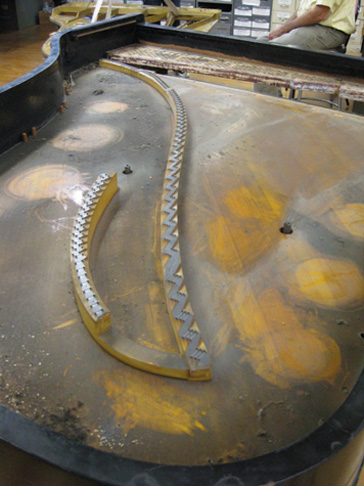
The soundboard before cleaning.
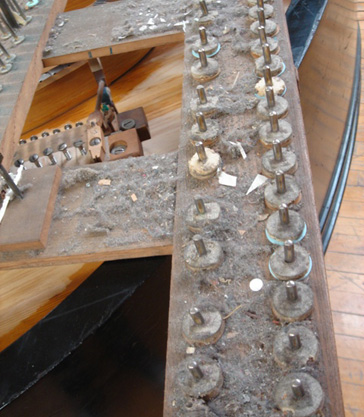
The dirty key frame.
The clean soundboard with practice repairs.
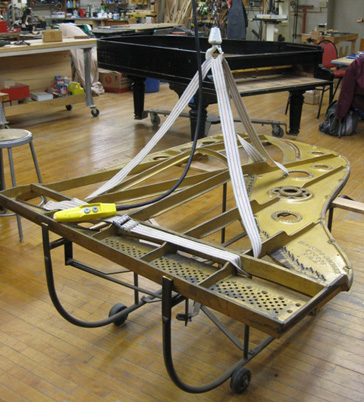
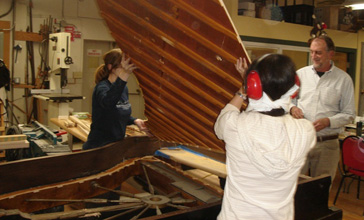
The soundboard being removed.
Work done on the soundboard includes removing and cleaning up the bridges which will later be reattached to the new soundboard and recapped.
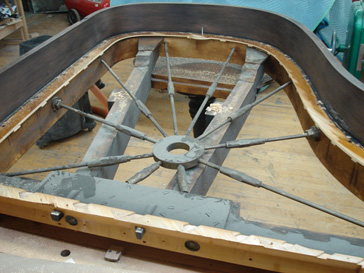
This photo shows what the inner rim and “tension resonator” (which is a Mason and Hamlin innovation to help maintain the piano’s structure) looked like immediately after the soundboard was removed.
The inner rim after cleaning and painting.
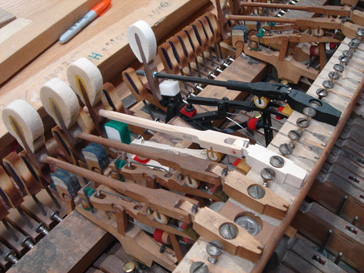
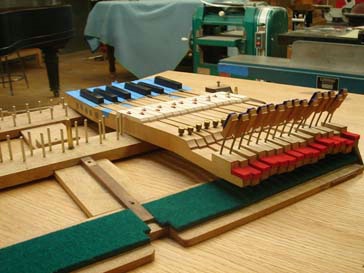
This photo shows different new action parts being tested to see what will work best on this piano.
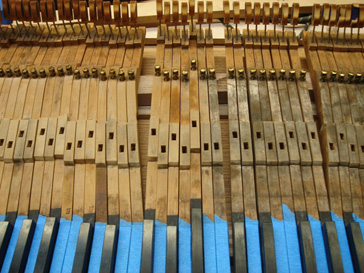
This photo shows the first step of cleaning and repairing the keys. The blue tape protects the ivory keytops during the cleaning.
After the team was done repairing, cleaning, and painting the inside and underside of the case, they began rebuilding the action and building the new soundboard.
The keys are cleaned using a “bead blaster” machine, which shoots out a stream of very fine glass beads (or in this case, baking soda).
The old felt from the damper heads is removed, and the original wood heads are cleaned up. New felt will be glued on when the piano is almost finished.
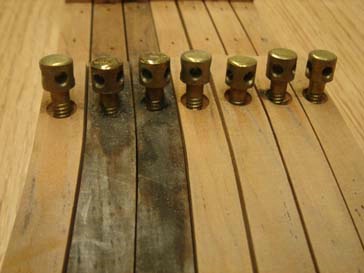
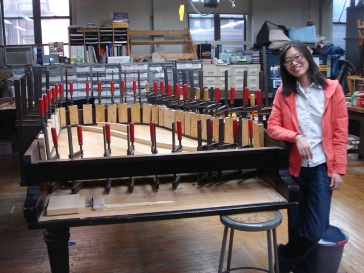
New key buttons were made and installed. The keyframe has been cleaned up and fitted with new backrail cloth (the cloth on which the back of the keys sit). The keys have new bushings and red end felt that contacts the damper levers inside the piano.
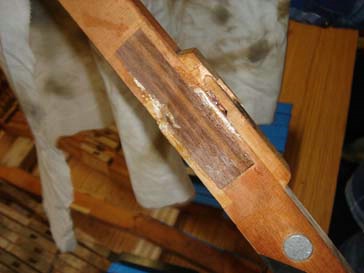
Along the way, all repairs to the piano are done completely and neatly. This photo shows one of the old broken key repairs – yuck!
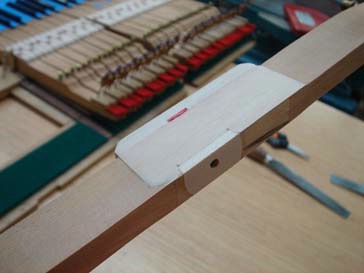
These bad fixes are repaired with good ones. In this “after” shot, the balance hole has been repaired.
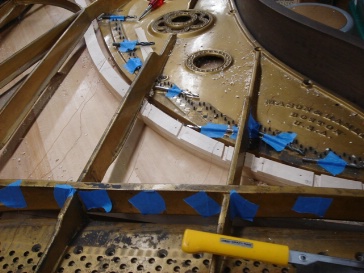
The go-bar deck is used to glue the new bridge caps to the original bridge root.
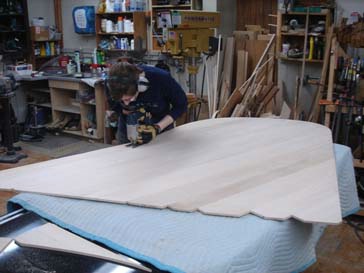
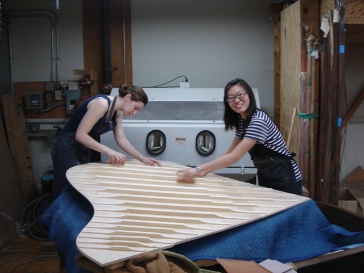
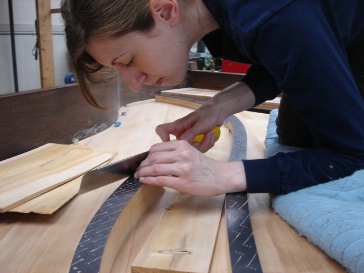
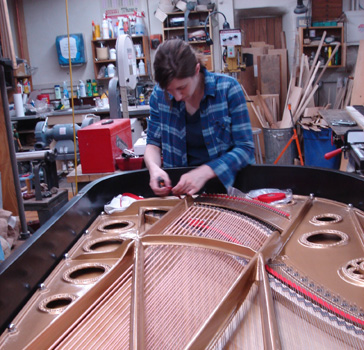
Here Jennifer is cutting the soundboard to shape.
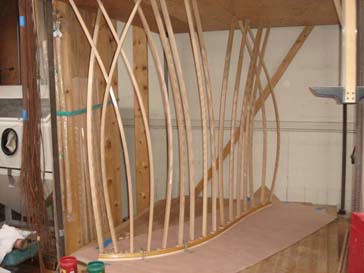
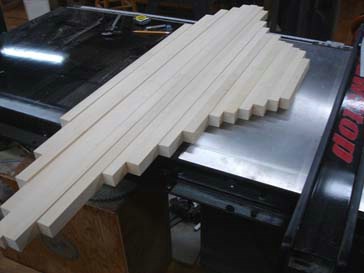
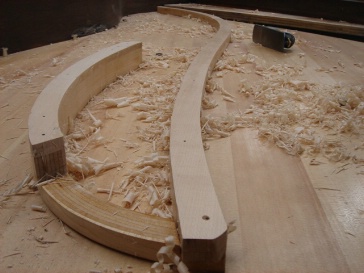
The new ribs are first cut to length, and after some preliminary shaping…
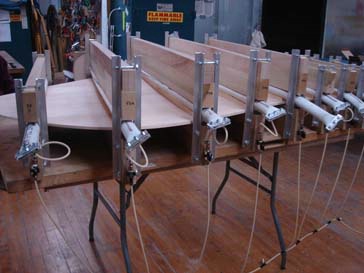
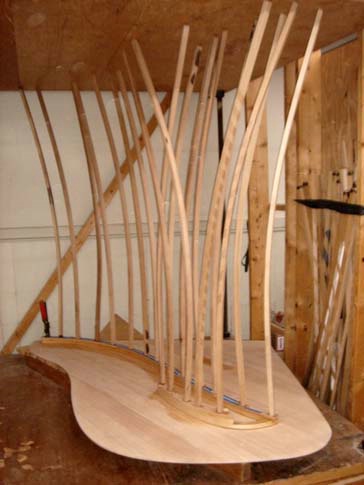
… the new pneumatic press is used to glue the ribs to the soundboard. The soundboard structure is glued in the go-bar deck or this press to give it its curved (“crowned”) shape.
The longest rib didn’t fit in the jig, so the traditional go-bar deck was used.
Finally, the bridge is glued to the soundboard.
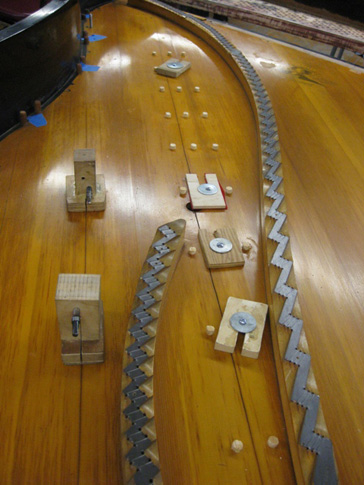
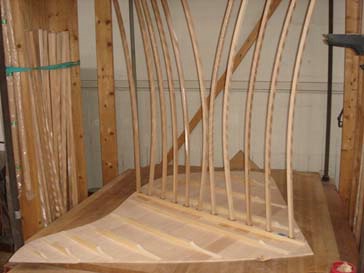
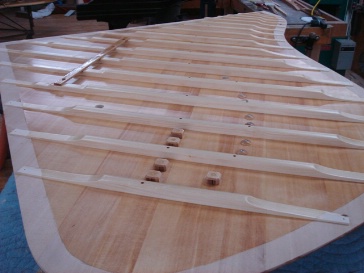
Before gluing in the soundboard, the ribs were shaped, a support bar and soundboard buttons were attached, and the underside of the soundboard was finished (except for the outside edge, which was the gluing surface).
Sanding the ribs.
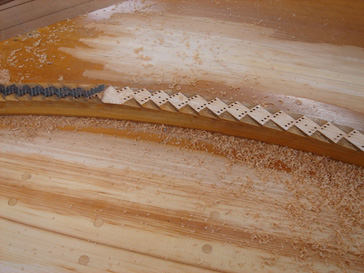
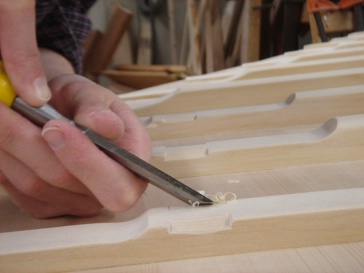
Notches are chiseled for the support bar.
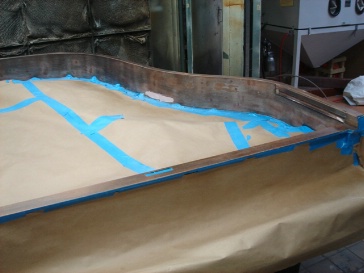
The top side of the soundboard was given a coat of sanding sealer to help protect the wood from damage during the gluing process.
The underside of the soundboard.
The soundboard with buttons installed.
After gluing in the soundboard, the team sets to work on the bridges.
Very large C-clamps are used to glue in the soundboard.
The plate was temporarily installed so that the relation of the string position to the height of the bridges could be measured. Using thread, chisels, drill bits, and a lot of patience, the bridge was carefully set to the correct height in several different places along both the treble and bass bridges. This ensured that in the final product, the strings will be correctly pressing down on the bridge for the best transfer of sound from string to soundboard.
Once all of the guide “channels” were set, hand planes were used to bring the entire bridge down to the correct height.
Planing the bridge.
A black lubricant was applied to the top of the bridges, drilled for bridge pins, and marked for notches.
Sawing marks for notches.
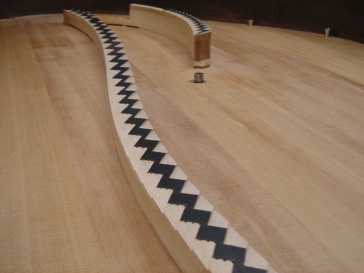
The notches create clearance for the strings to avoid unwanted sounds like buzzes, and also create a defined termination point for the speaking length of the string. Each notch was chiseled by hand, after practicing the tricky technique on mini-bridges outside the piano.
The bridge with notches.
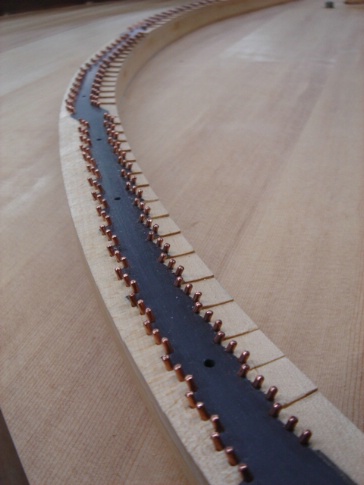
Finally, the pins were driven in to complete work on the bridges.
The bridge with pins.
The inside of the case rim was refinished – first by sanding and filling all of the dings, dents, and scratches, and then a product was used to fill the “pores” of the wood. Once the surface was smooth, black lacquer was sprayed in several coats, and then rubbed out to create a satin finish. The rest of the case will be completed by an independent, professional refinisher.
Sanding and filling the case rim.
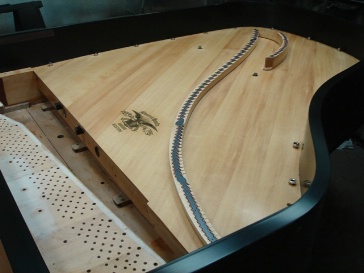
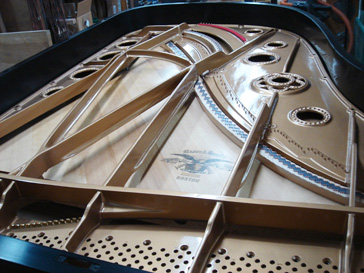
Once the bridges were complete, the soundboard was refinished and given a satin sheen. A new decal that matches the original was applied under the final coats of finish on the soundboard, so that it is securely sealed.
The refinished soundboard.
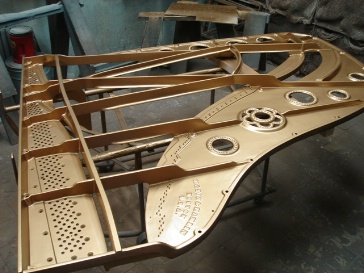
The cast-iron plate was refinished in a similar way – first by sanding and filling, then by applying a primer to the bare spots, then spraying gold lacquer onto the entire plate.
The plate before…
…and after.
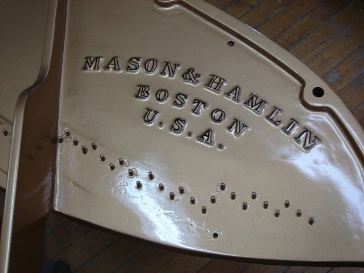
The black lettering was restored on the plate’s logo, replaced the model and serial number, and numbers were applied to show the sizes of music wire used throughout the piano (useful to future technicians).
After the lettering was done, the plate was sealed with clear lacquer, so that the gold won’t tarnish and the black letters won’t chip off.
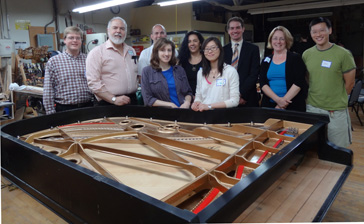
The Old South Music Committee, pictured here with students Jennifer Holmes and Liao Liu, visited the piano to celebrate the work done so far.
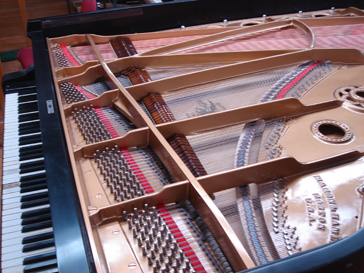
This picture shows the plate after it was put back in the piano.
Jen working on the felting.
The damper system was installed and regulated.
The keyboard before restoration.
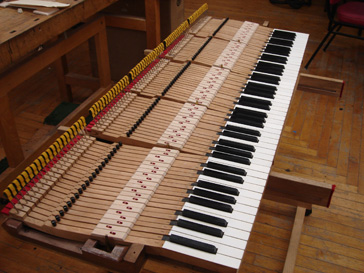
The keyboard was cleaned, broken keytop pieces were replaced and chips in the ivory were repaired. This picture shows the keyboard after restoration.
Once the piano is fully restored it is sent to a shop that specializes in piano case refinishing. This piano is now ready to be refinished.
Once the piano case is refinished, the piano will be ready to be shipped back to Old South Church. The refinishing process takes months but we’ll be sure to post a final picture of the piano at the church once it arrives.
